In this article we’ll show you how to get a domain name, purchase hosting and install WordPress so you can start building out a website or blog!
Step 1 : Purchase Hosting and Domain Name
Hosting is important because… well, without hosting your website or blog wouldn’t be viewable to anybody. There are numerous hosting companies out there and one day we’ll make a complete list but since this is probably your first blog let’s keep it simple and economical.
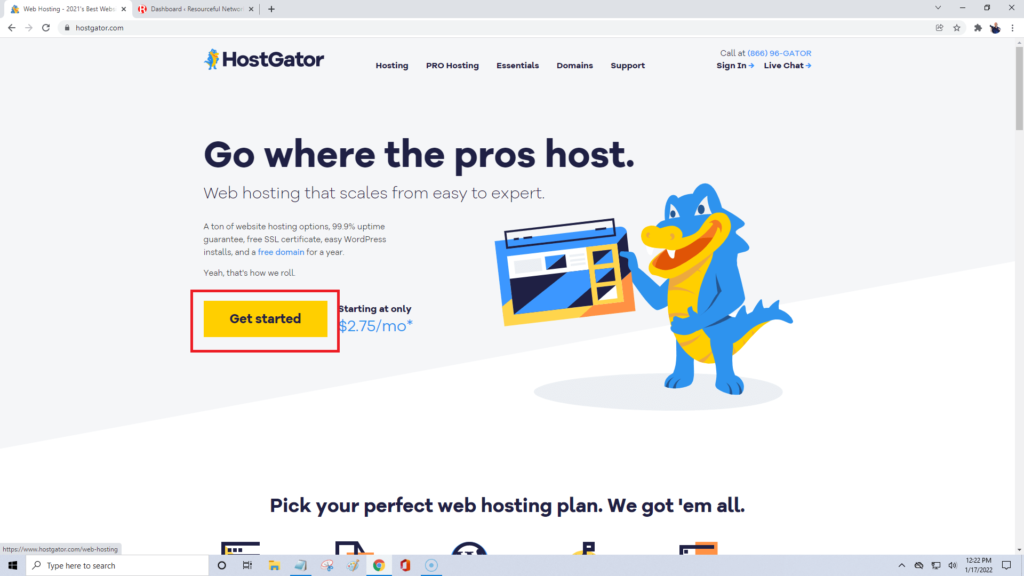
A good company to use for your blog’s web hosting is HostGator . They have a good track record for uptime, have great customer support and have been around for a long time, not to mention they are very affordable.
Click the Get Started button and then select the buy now on the hatchling plan package. You can upgrade to the baby plan if you are going to build more than one website if you choose.
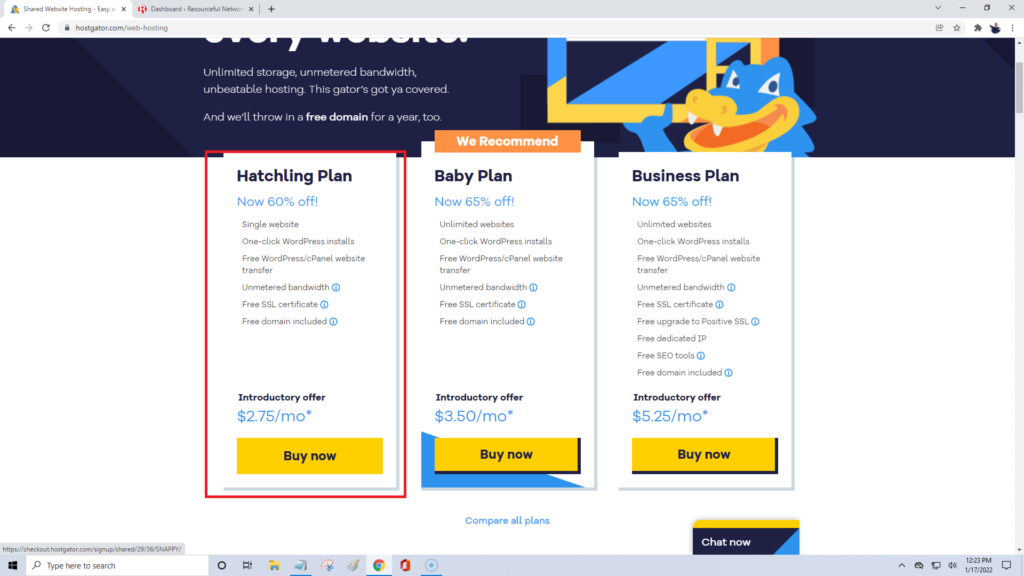
Step 2: Get a Domain Name
Your domain name should be simple and easy to remember, it could even be your own name if you wanted. If you are stuck picking out a name, there are a few blog name generators out there that can help jog your brain a little.
Once you have your blog name picked out we need to see if it’s available and purchase it. A domain name is generally around $15 a year. We have used GoDaddy.com, Namecheap.com and HostGator.com for domain names in the past. Currently we rely on HostGator for all of our domain name and web hosting needs. They have never let us down.
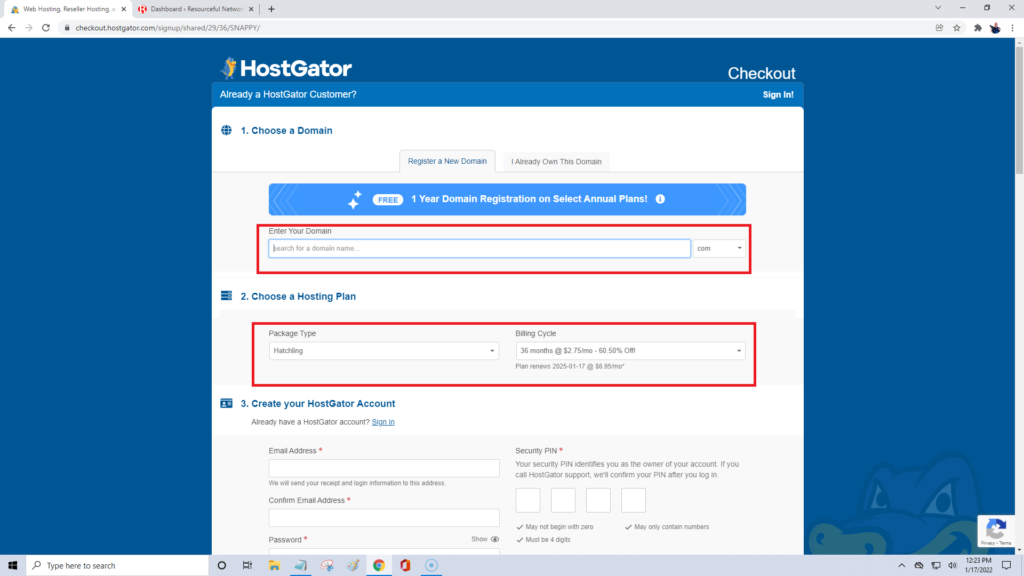
Once you have picked out your domain name you want to enter it in the field shown above. If it is not available (which happens sometimes) it will say unavailable and you will unfortunately have to pick something different
Choose your hosting package next, it should already be selected from the first step but if you change your mind and want to do a different plan you can do this now. Keep in mind that the longer billing cycle you choose, the better price you will get!
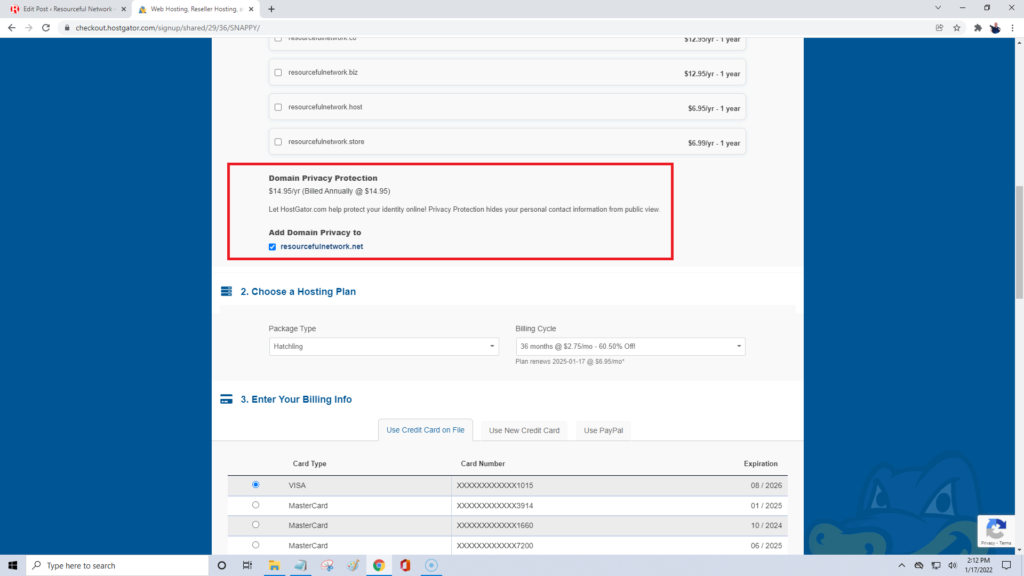
You now will have the option of choosing if you want domain privacy protection. This will keep your information private and we highly recommend it. If you choose to not purchase it, be prepared to get a ton of spam emails from people trying to offer you website building services and apps. It’s very annoying !
Next you will want to setup your account details. We are using HostGator in this example because we have used them for years without any issues. You’ll be asked to enter your email, a password and a security pin.
Enter all of your billing information. You can pay for the domain name and hosting services with a credit card or through PayPal.
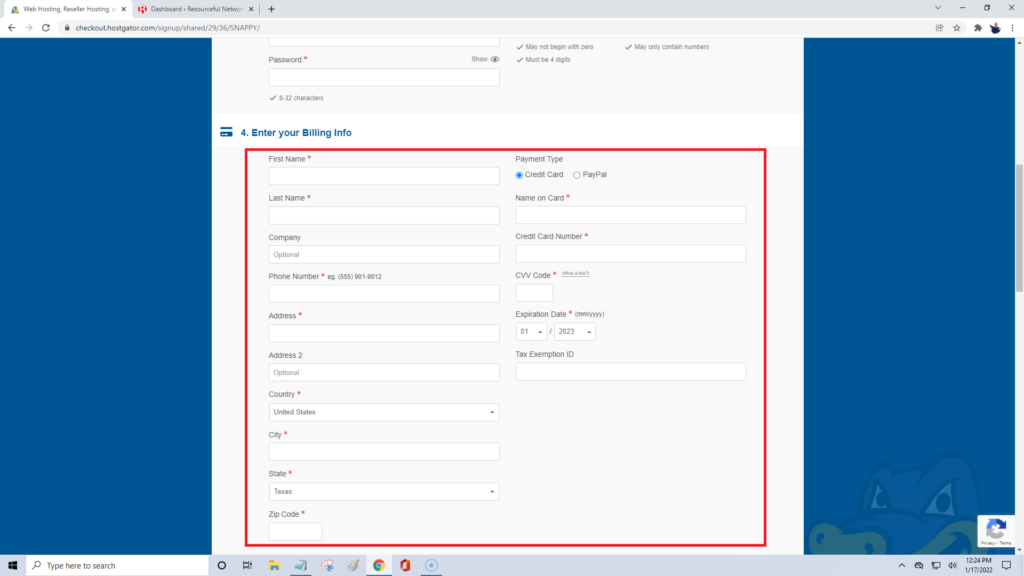
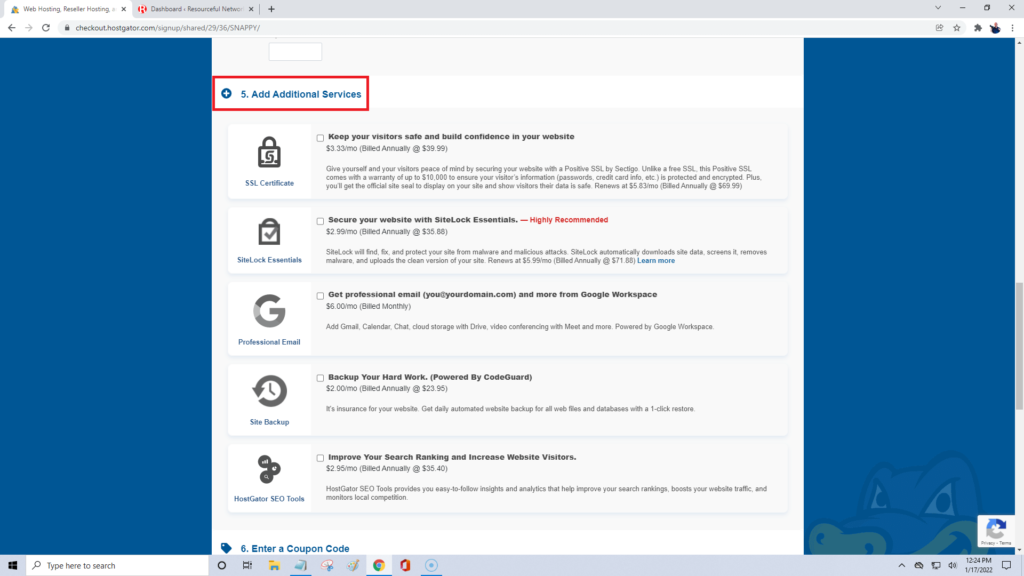
The next section will be for adding additional services. We choose not to select any extras at this time because we can do all of this on our own without buying them, however, if you want to purchase any of the additional services it is entirely up to you.
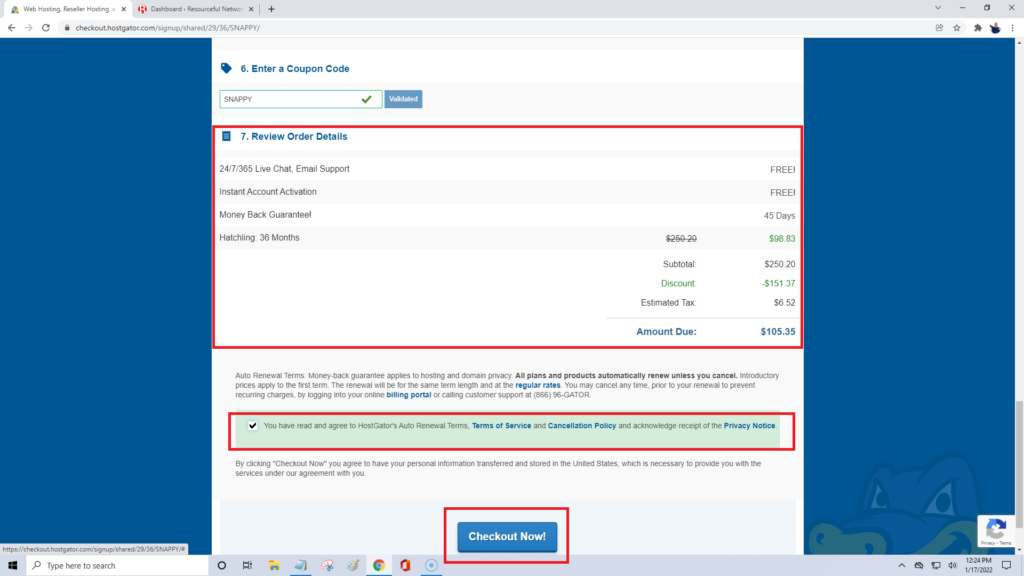
Review your order details, check the box that you agree to all the terms and conditions and then click checkout now.
Step 3: Install WordPress
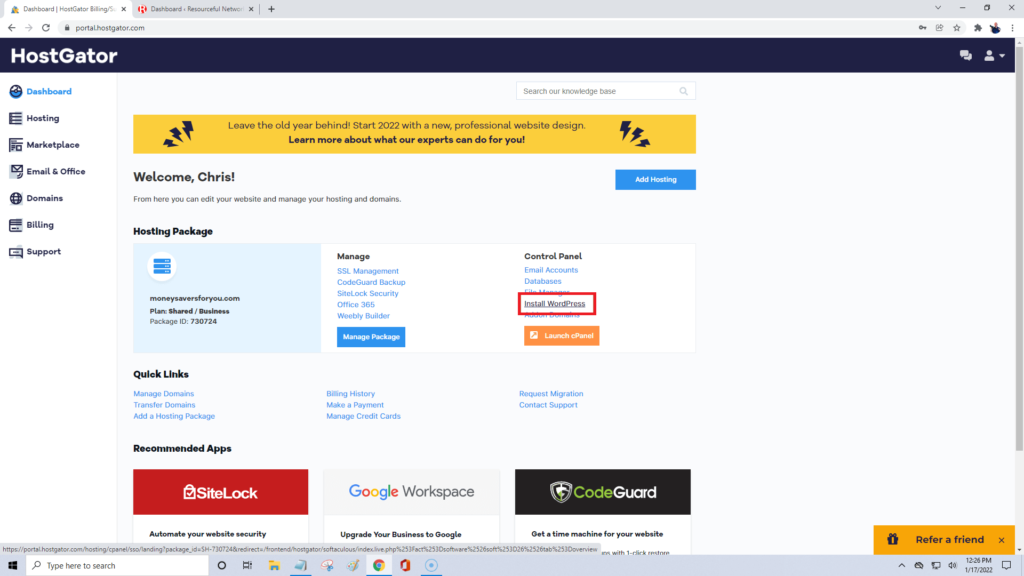
Installing WordPress through HostGator is easy, from your HostGator customer dashboard you just click on Install WordPress.
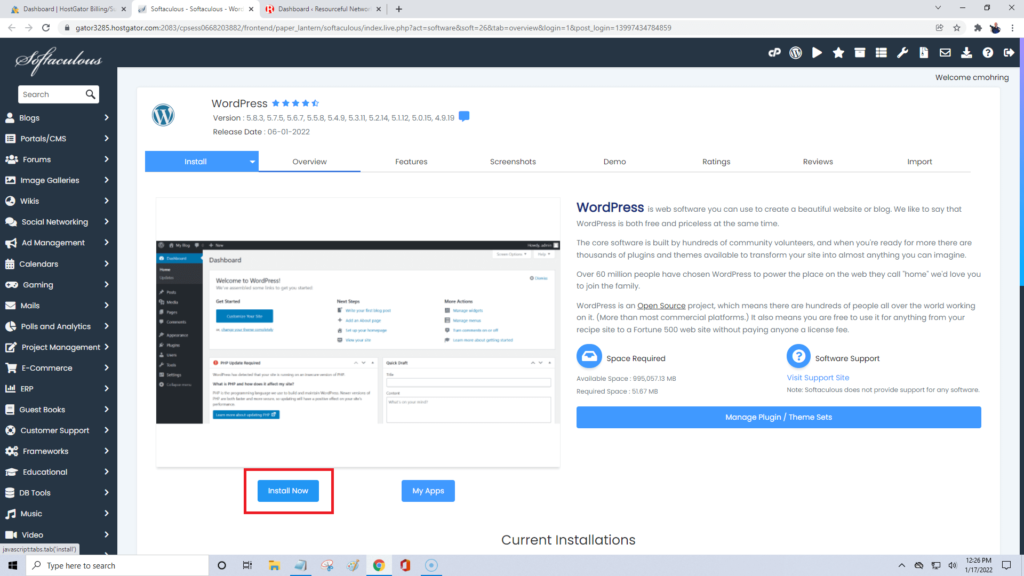
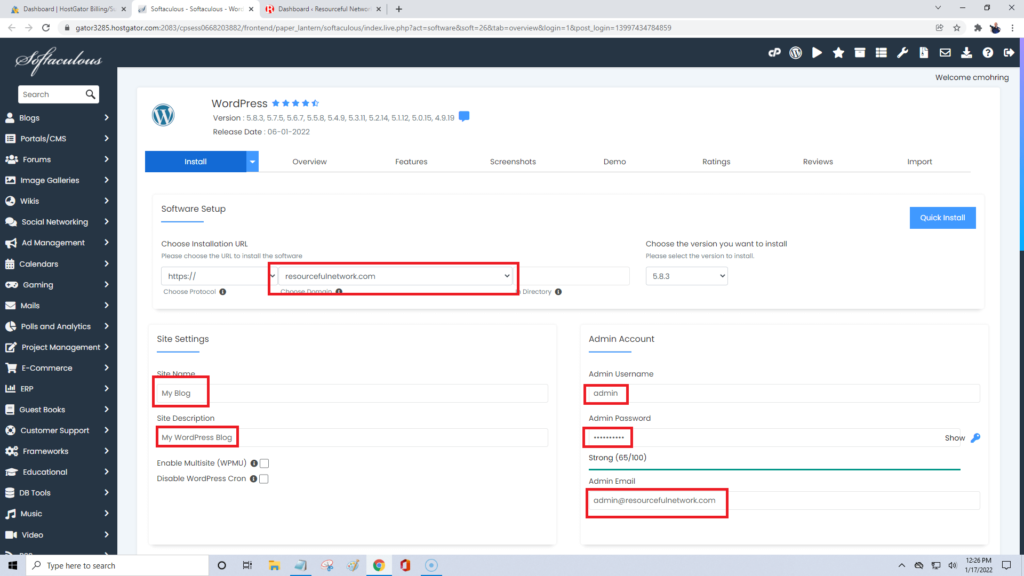
Choose your installation URL. If this is your first time, it should already be in there. Leave the directory field BLANK (this is important!)
Choose the version you want to install. It should already be on the latest version so if you click the dropdown it should be the top choice.
Enter your site name and site description (we can also add or change these later so it’s not super important)
Under the admin account enter a username and password. It would probably be a good idea to write these down somewhere because you will need them to log into the backend of your new website!
Change the admin email to an email that you can check. You can change this in your WordPress dashboard later if needed.
Select your language.
Skip over the select plugins, advanced options or the select themes sections, we’re going to add this stuff in manually in a later step.
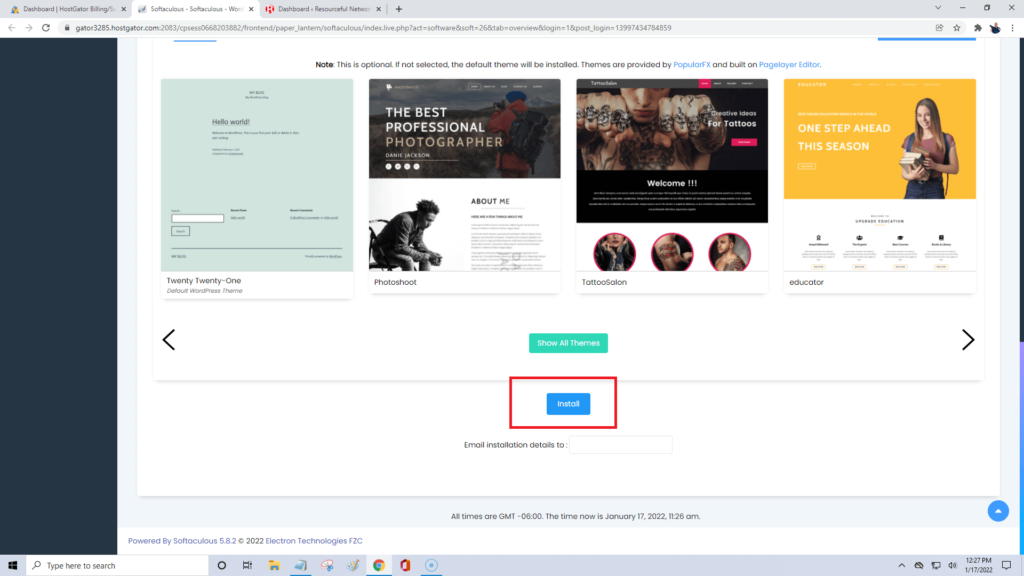
Scroll to the bottom of the page and click install
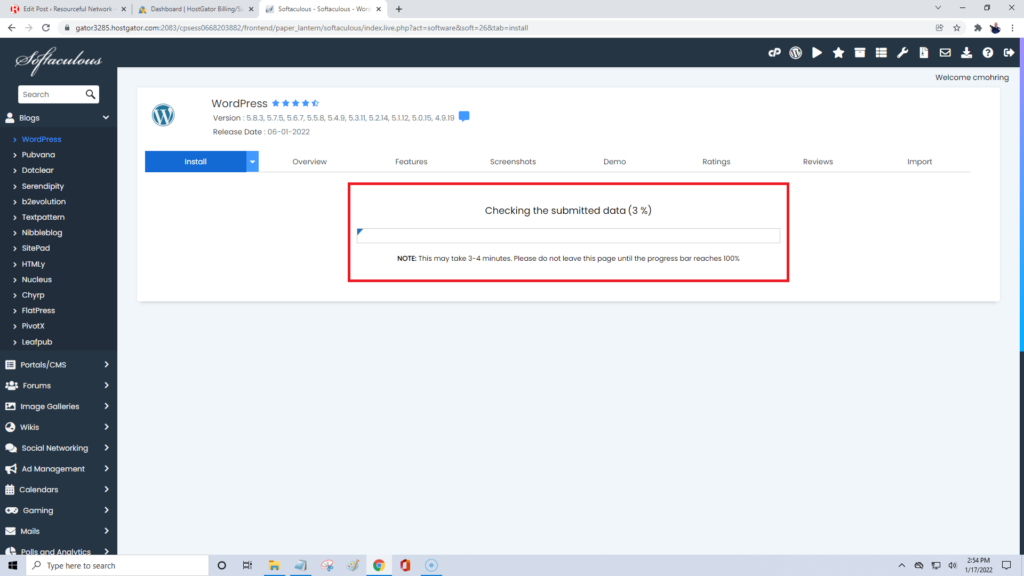
It should only take a few minutes to install WordPress.
You should now see a screen like the one below that says Congratulations, the software was successfully installed.
There will be two web addresses shown, one is your main site’s web address and the other one is the important one, your website’s administration URL. It should be whatever your website’s name is /wp-admin.
You may want to bookmark this as it is the address you will need to log into your WordPress dashboard to make all the changes to your site and to upload and add all of your content, so it’s kind of a big deal!
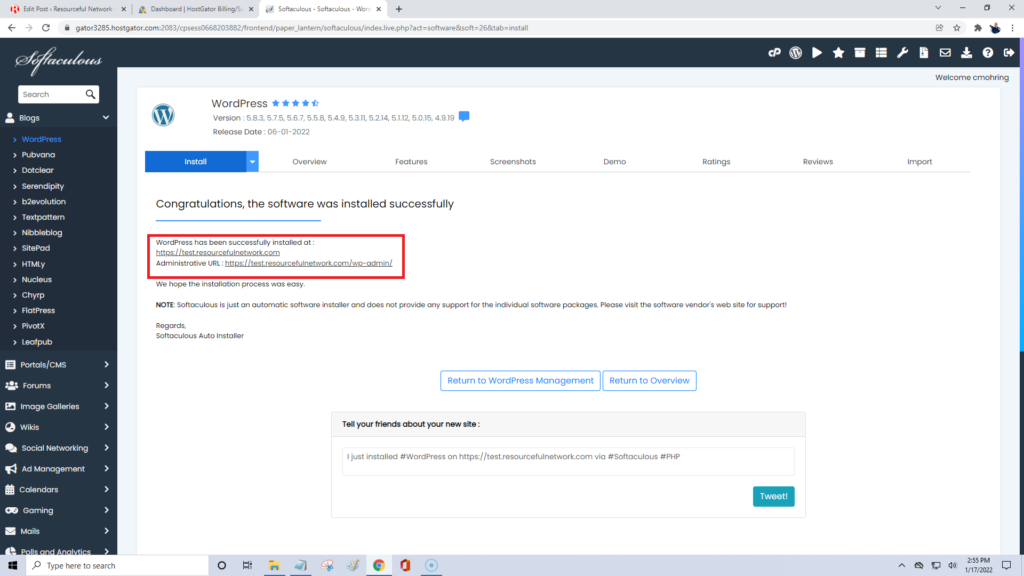
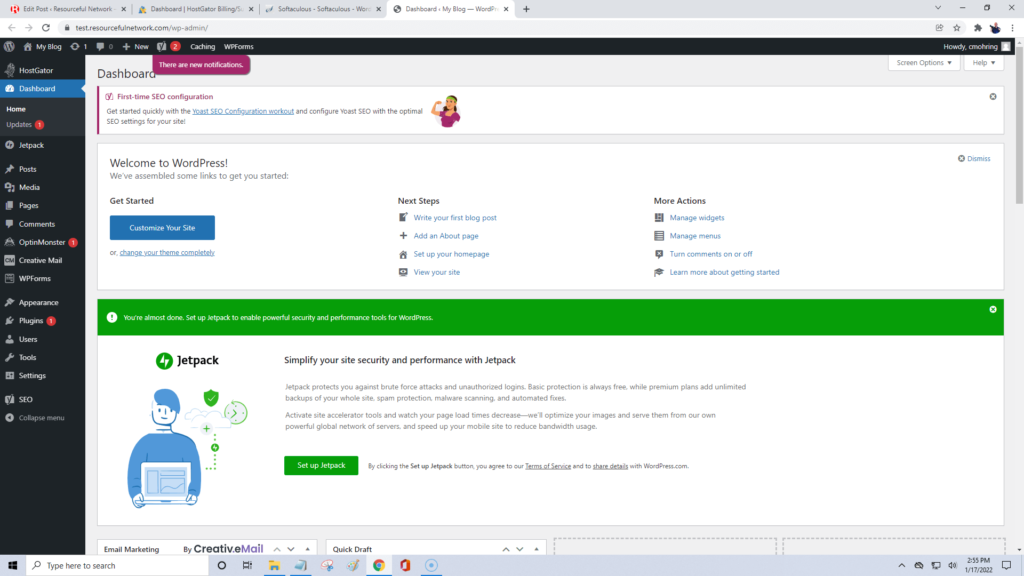
Click on the administrative URL and it should take you to the WordPress Dashboard! Awesome job!
*Note – sometimes you will get an error screen that says site not secure or site not found. If this happens, it means that your website hasn’t fully propagated through the internet yet. Wait about 15 minutes or so and click on your administrative URL again. On a rare occasion, this could take up to 24 hours but from our experience it either works immediately or within 10-20 minutes.

